ASP.NET membership is designed to enable you to easily use a number of different membership providers for your ASP.NET applications. You can use the supplied membership providers that are included with the .NET Framework, or you can implement your own providers.
There are two primary reasons for creating a custom membership provider.
- You need to store membership information in a data source that is not supported by the membership providers included with the .NET Framework, such as a MysQL database, an Oracle database, or other data sources.
- You need to manage membership information using a database schema that is different from the database schema used by the providers that ship with the .NET Framework. A common example of this would be membership data that already exists in a SQL Server database for a company or Web site.
In tis tutorial, we are going to implement and configure a custom Membership Provider using ASP.NET MVC4 that enable external login like facebook, yahoo , google or other relying party accounts.
Let’s go
A. Create a Custom MemberShip Application class Library
- Create a class Library Project (our sample Projet name is LogCorner.SoftwareStore.Security)
- Reference the assembly System.Web.ApplicationServices (Right Click Reference => Add reference and Select Assemblies => navigate toSystem.Web.ApplicationServices and add it)
- Create a Class CustomMembershipProvider . Here we are going to enable external login like facebook, yahoo , google or other relying partyaccounts.So derive our custom class from ExtendedMembershipProviderwhose base class is MembershipProvider
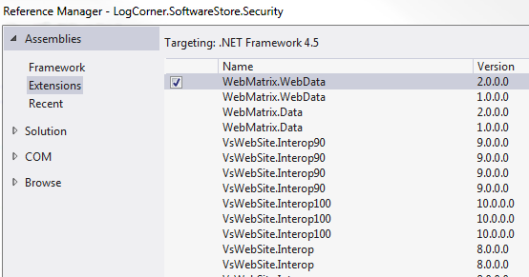
- So reference the assembly WebMatrix.WebData or get it via nuget Packages
- Override ValidateUser as follow


For now we have what we need for our application security. To go further in the implementation of Custom Membership Provider, please see our tutorial Mastering Custum ASP.NET MemberShip Provider using ASP.NET MVC
B. Create an ASP.NET MVC4 application Client
1. Create an ASP.NET MVC4 application Client ( Add New projet è ASP.NETMVC4 Web Application è Select Template Internet Web Appliction and Click OK)
2. Open Web.config file
3. Add or Replace membership section as follow
2. Open Web.config file
3. Add or Replace membership section as follow

4. Open HomeController and Authorize Attribute to Index ActionResult

5. Run the application ASP.NET MVC4 application Client, you ll have the errors below

6. do not panic, proceed as follows :
Add this in your web.config (in the appSettings section):
<add key= »enableSimpleMembership » value= »false »/>
<add key= »autoFormsAuthentication » value= »false »/>
7. Run the application ASP.NET MVC4 application Client, you ll have another error

8. To fix it Open AccountController and comment InitializeSimpleMembership , because we using Custom Membership Provider instead of Simple Membership
9. Override Login Action of AccountController as follow :

10. Run the application ASP.NET MVC4 application Client, you’ll have the form authentication below. Note that external logins are disabled. Will going to configure external logins further

11. Enter user credentials and click Log In, then you will have the execution workflow below :


B. Configuration Custom Membership Provider using ASP.NET MVC4 with external login like facebook, yahoo , google or other relying party accounts.
- Registering with an external provider
To authenticate users with credentials from an external provider, you must register your web site with the provider. When you register your site, you will receive the parameters (such as key or id, and secret) to include when registering the client. You must have an account with the providers you wish to use.
To successfully register your site, follow the instructions provided on this sites :
2. navigation to App_Start of your web application ,locate AuthConfig.cs file and open it
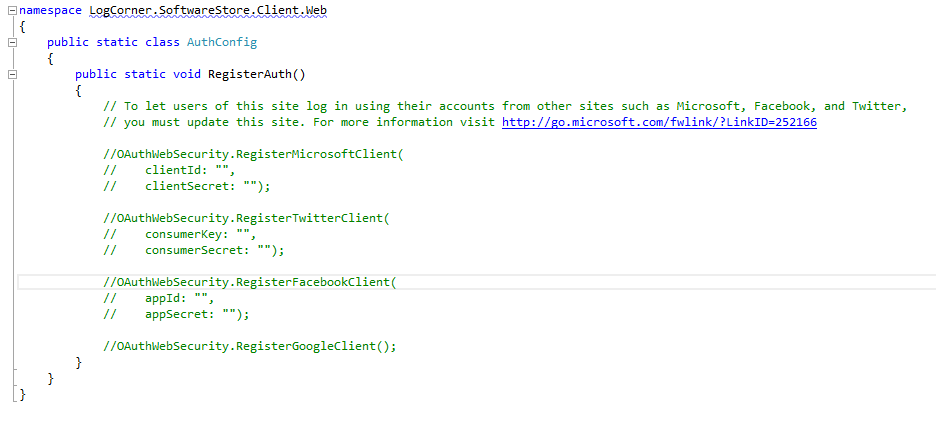 3. Update RegisterAuth method with parameters (such as key or id, and secret) you have received from facebook, twitter, google, yahoo. etc……
 4. Next run your web application, then your logon form must be updated with external logins
 5. Click on Google button (for example )


If you seek information about encoding and decoding password, please read our article ASP.NET Custom Membership Password Encoding and Decoding based on key SALT using SHA-3 algorithm
We have at the end of this tutorial, thank you for feedbacks.


No comments:
Post a Comment