The idea behind my open source Trackable Entities project is quite simple: track changes to an object graph as you update, add and remove items, then send those changes to a back end service where they can be saved in a single transaction. It’s an important thing to be able to do, because it’s difficult to wrap multiple round trips in a single transactionwithout holding locks for a long time. On the other hand, you could break up related operations into multiple transactions, but then you lose the benefit of atomicity, which enables you to roll back all the changes in a transaction should one of them fail.
To get started with Trackable Entities for Entity Framework Core, download the NuGet package and check out the project repository. You can also clone the sample applications and follow the instructions.
Brief Introduction
For example, you update an order with related details. Some details are unchanged, while others are modified, added or removed. All these changes should be atomic, that is, they should all succeed or none. The problem with regard to Entity Framework is that, in the context of a web service, updates must be conducted in a disconnected manner, which means that you need to inform EF about which entities require updating and what kind of changes it needs to perform. In the case of an order with multiple details that need to be updated all at once, there needs to be a way to communicate this information to the web service so that you can attach entities to a
DbContext and individually set the state of each entity. The way Trackable Entities accomplishes this is by means of a simple enum called TrackingState. by
by
To track changes, entities implement an
ITrackable interface, which includes a ModifiedProperties property to support partial updates.
In addition, Trackable Entities provides an
IMergeable interface to correlate updated entities so they can be merged back into the original object graph on the client.
Once entities have been marked as Added, Modified or Deleted, all you have to do is call the ApplyChanges extension method for DbContext.
Trackable Entities for EF Core
Because Trackable Entities is an extension of Entity Framework, it has only been available for the full .NET Framework running on Windows. But now that EF has been ported to .NET Core and can run on Linux and MacOS, it’s time for Trackable Entities to come along for the ride! This makes it possible to create a Web API with ASP.NET Core that can run both locally on a Mac and in a Docker container running on a Linux VM in the Cloud. How cool is that?!
To get started you can either use Visual Studio for Windows, Visual Studio for Mac, or if you’re adventurous, Visual Studio Code. It doesn’t matter which option you choose, because in the end your web app will run anywhere .NET Core will run. In this blog post I’ll walk you through a demo using VS for Mac — just for fun. But if you prefer, feel free to check out the sample I created using the “classic” version of Visual Studio on Windows.
Note: You’ll need to install the SDK for .NET Core 2.0 or higher.
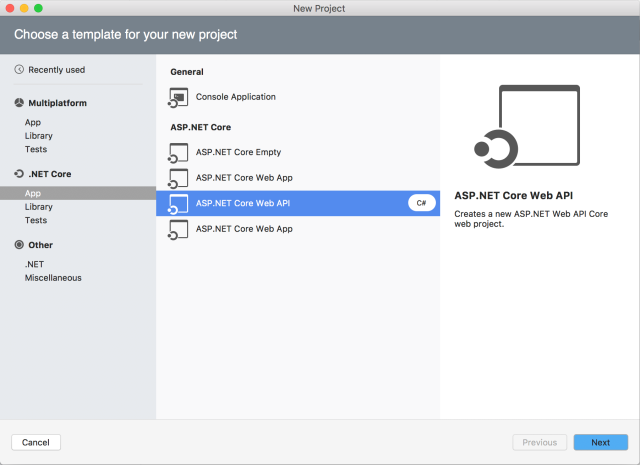
Start by creating a new project in VS using the ASP.NET Core Web API project template.
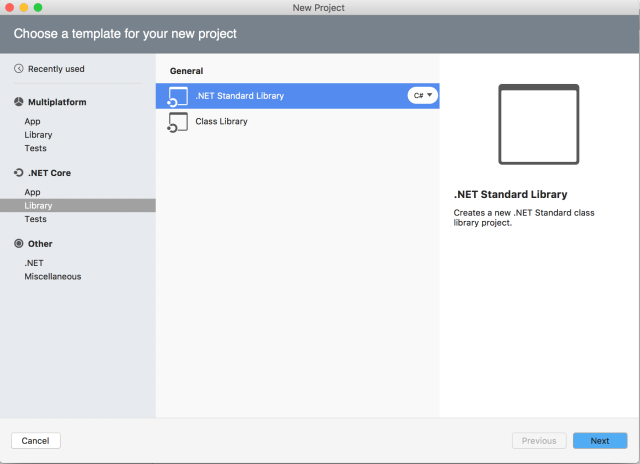
Then add a .NET Standard Class Library for server-side trackable entities.
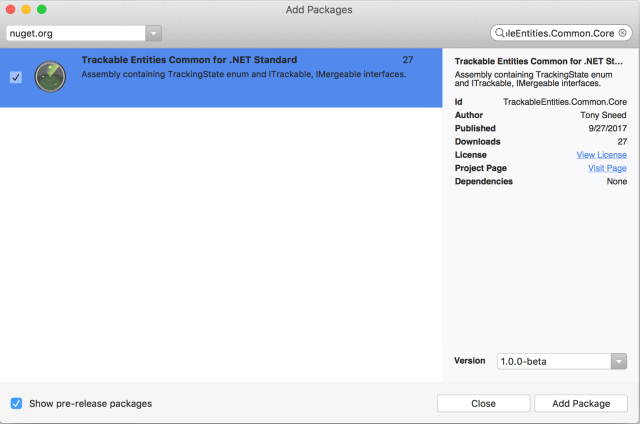
Add the TrackableEntities.Common.Core (pre-release) and System.ComponentModel.Annotations NuGet packages.
Add classes that implement
ITrackable and IMergeable interfaces. You’ll also need to add a using directive for System.ComponentModel.DataAnnotations.Schema, so that you can decorate TrackingState, ModifiedProperties and EntityIdentifier properties with a [NotMapped]attribute, to indicate these properties do not belong to the database schema.EF Core Migrations
Although it is possible to generate entities based on database tables (Database First), in this demo we’ll go the other way and start with entities that will be used to generate database tables and relationships (Code First). Both approaches use the EF .NET Core CLI, which you install by adding the Microsoft.EntityFrameworkCore.Design package and manually editing the .csproj file for the Web API project to insert a
DotNetCliToolReferenceand change the project target from netstandard2.0 to netcoreapp2.0 (which is required to run the EF CLI). You’ll also need to add a package for the EF provider you’re using, which in this case is Microsoft.EntityFrameworkCore.Sqlite, as well as a reference to the server-side entities project you created earlier. Then run dotnet restore from the command line. (Visual Studio does not yet automatically restore tooling packages.) Here is what your .csproj file will then look like.
Next, add a specific
DbContext-derived class to the Web API project.
Lastly, you’ll need to add a class that implements
IDesignTimeDbContextFactory to create your context class with the appropriate options and connection string.
Now all you need to do to create a database from your entities is to execute the following two commands, after which a northwindslim.db file will appear in the project directory.
Configure Dependency Injection
To inject your EF context class into controllers, you’ll need to register it with ASP.NET Core’s dependency injection system. Add code to the
ConfigureServices method of the Startup class in which you call services.AddDbContext, passing options that include the provider and connection string. You’ll also want to configure the JSON serializer to preserve references in order to accommodate cyclical references in object graphs.Web API Controllers
Next add the TrackableEntities.EF.Core NuGet package to the Web API project. Then you can add a controller to the project in which you use LINQ to execute queries against the database and return objects from your GET actions.
Then to utilize Trackable Entities for persisting object graphs with changed entities, all you need to do is call
context.ApplyChanges.
Note that after calling
context.SaveChangesAsync() there is a line of code that calls context.LoadRelatedEntitiesAsync, passing the root entity. This will traverse the object graph, loading reference properties so that entities returned to the client will have them populated. For example, when updating an Order it isn’t necessary to send the entire Customer entity when all you have to do is set the order’s CustomerId property. But the client will usually want to have the Customer property populated when it is returned from the service, which is what LoadRelatedEntitiesAsync does. Lastly, the call to context.AcceptChanges is there to reset TrackingState on each entity to Unchanged, so that the client can can have a fresh start before making additional changes.
You can now execute
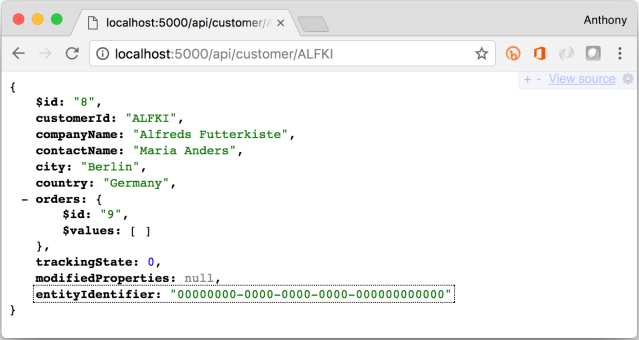
dotnet run on the command line and the Web API will start listening for requests on the default port 5000.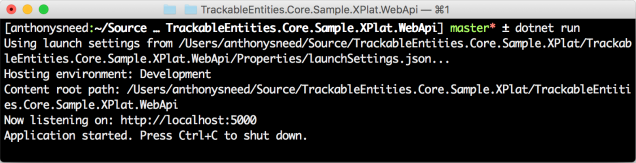
You can then open a browser and navigate to an API endpoint to make sure you can retrieve entities. You can also use a REST client such as Postman to make POST, PUT and DELETE requests.
Trackable Entities on the Client
On the client side Trackable Entities provides change-tracking for .NET apps by means of a
ChangeTrackingCollection. You can create a .NET Core console app to which you can add the TrackableEntities.Client NuGet package. Even though this package was written for the full .NET Framework version 4.6.1, you can use it in a .NET Core app because both are compliant with .NET Standard 2.0.
Because client-side entities have a different set of concerns than server-side entities, firing events on property changes and using change tracking collections for navigation properties, you’ll probably want to generate client entities from the database schema you created earlier using the EF Core CLI tooling. The easiest way to accomplish this is to use T4 templates. Fortunately, Trackable Entities has a package for that — TrackableEntities.CodeTemplates.Client.Net45. You’ll need to add it to a traditional .NET Class Library project in Visual Studio for Windows, so that you can add an ADO.NET Entity Data Model that will use it to generate the client entities.
You can then write client-side code that changes entities, gets only the changed entities, and sends them to your Web API service for applying changes and saving them to the database. See the sample app’s repository for the complete code.
To run the console app, keep the Web API running and execute
dotnet run. Follow the prompts to retrieve, add, update and delete entities at various places in the object graph.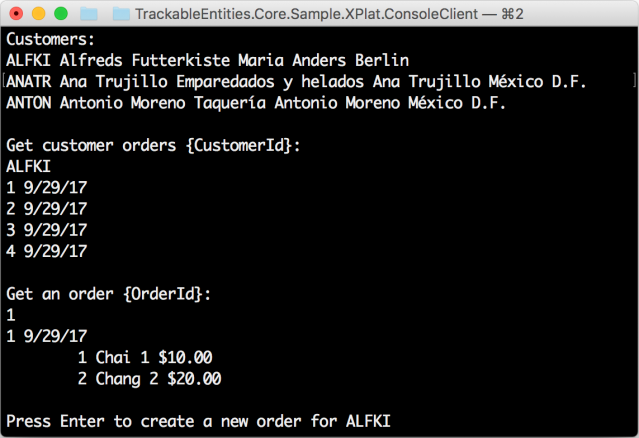
The cool thing is that all this is happening on a Mac, and there’s nothing to stop you from deploying it to a container service such as Amazon EC2, Microsoft Azure or Google Container Engine. With Trackable Entities and EF Core the future is now.g


