
Angular 6 recently launched and has introduced some pretty awesome features.
Let's look at how to create and Angular 6 application with and without using .NET Core SPA templates using Visual Studio 2017.
There is more than one way to create an Angular 6 application with .NET Core - let us see some of them.
Make sure you have installed Visual Studio 2017 and .NET Core's latest SDK and, of course, Nodeand Angular CLI.
Without Using an SPA Template
In this approach, we will not use any template and will add Angular 6 to an API project.
Create the Angular Application Using a .NET Core 2.0 Template in VS 2017
Once you have all these installed, open your Visual Studio 2017 -> Create New Project -> Select Core Web application:
 Click 'OK,' and, in the next window, select an API as shown below:
Once the API project is created, open the Command prompt and navigate to the project folder run the following command:
ng new ClientApp
This will create an Angular 6 application within an API project.
The next task is to run our Angular application with .NET Core. For this, we need to add some code within the Startup.cs class.
Add the below lines in the
ConfigureService method:
Add the below lines in the
Configure method:
The above code adds the required configuration for running Angular code with .NET Core.
Note: Make sure the property
"launchUrl": "api/values" is not present in the Properties/launchSettings.json, if it is available then delete it.
Just run the application in the browser:
 Your Angular 6 application is now running with .NET Core.
With an SPA Template
In the first approach, we did not use an SPA template to create an Angular app; in this approach, we will use the Angular template.
Create the Angular Application Using .Net Core 2.1 Template in VS 2017
Once you have all these installed, open your Visual Studio 2017 -> Create New Project -> Select Core Web application:
 Click on 'OK,' and, in the next window, select Angular as shown below:
 Visual Studio will create a well-structured application for you.
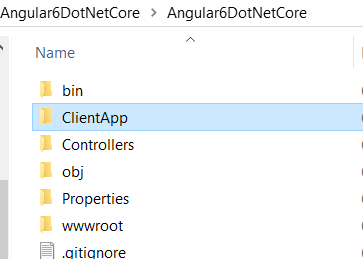
If you compare this project's structure with the previous version, then you would notice that the Views folder is no longer there:

We do not need that Views folder now.
Delete ClientApp and Install Angular 6
If you open a package.json file under the ClientApp folder, you'll notice the Angular version is 5.0 but we want to create an Angular 6 application.
So go to File Explorer and delete the ClientApp folder:
Once the folder is deleted, open the Command prompt and navigate to the project and run the following command:
ng new ClientApp
This command will create a brand new Angular 6 application.
Once the process is completed, go back to Solution Explorer -> ClientApp -> package.json. This file should show Angular 6.0 references:
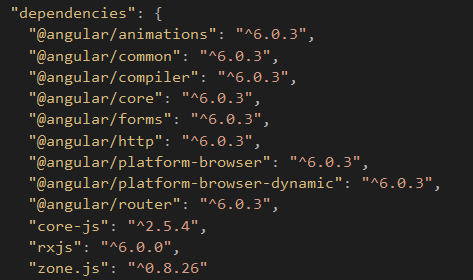
That is it. We have just created an Angular 6 application with .NET Core.
Let's try to use any random Angular 6 feature just to make sure we have the latest Angular 6 code.
Test Library Feature
We will test the library feature which has been shipped with Angular 6.
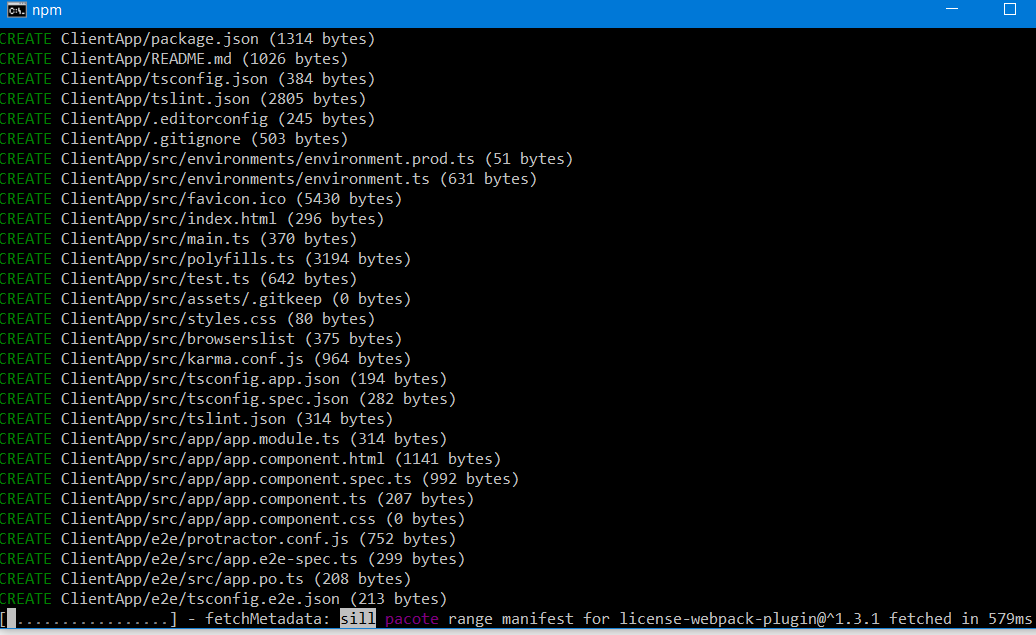
Open the command prompt again and navigate to the ClientApp folder -> run the following command:
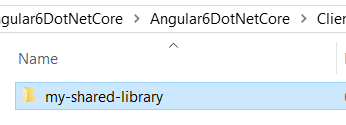
ng generate library my-shared-library

Logs in the window confirm that we have Angular 6 now. The library will be created under the ClientApp -> Projects folder:
Hope this helps!


No comments:
Post a Comment